CTS 2014-2018 very light cashmere leather and 50 similar items

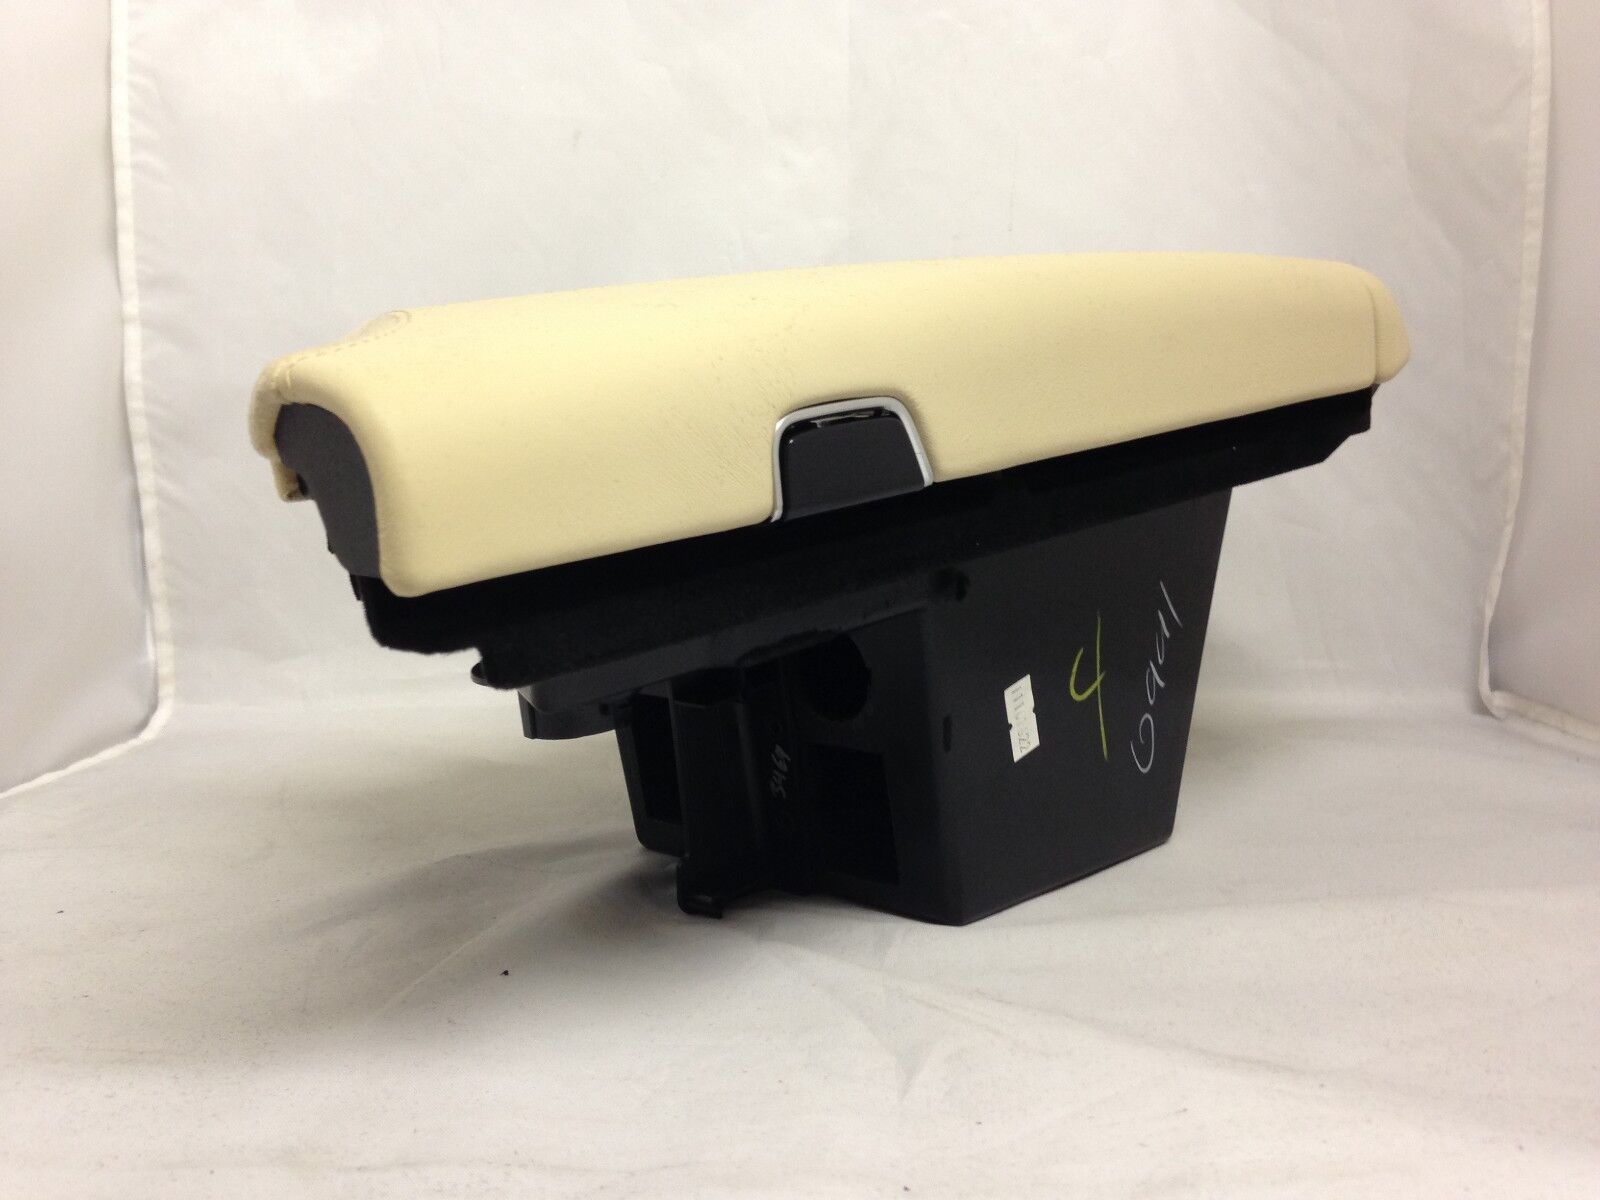
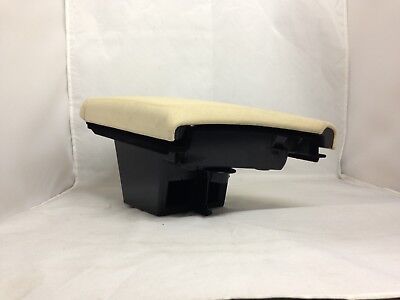
CTS 2014-2018 very light cashmere leather armrest console lid & storage bin. OEM
$39.00
View full item details »
Shipping options
Return policy
Purchase protection
Payment options
PayPal accepted
PayPal Credit accepted
Venmo accepted
PayPal, MasterCard, Visa, Discover, and American Express accepted
Maestro accepted
Amazon Pay accepted
Nuvei accepted
View full item details »
Shipping options
Return policy
Purchase protection
Payment options
PayPal accepted
PayPal Credit accepted
Venmo accepted
PayPal, MasterCard, Visa, Discover, and American Express accepted
Maestro accepted
Amazon Pay accepted
Nuvei accepted
Item traits
| Category: | |
|---|---|
| Quantity Available: |
Only one in stock, order soon |
| Condition: |
New other (see details) |
| MPN: |
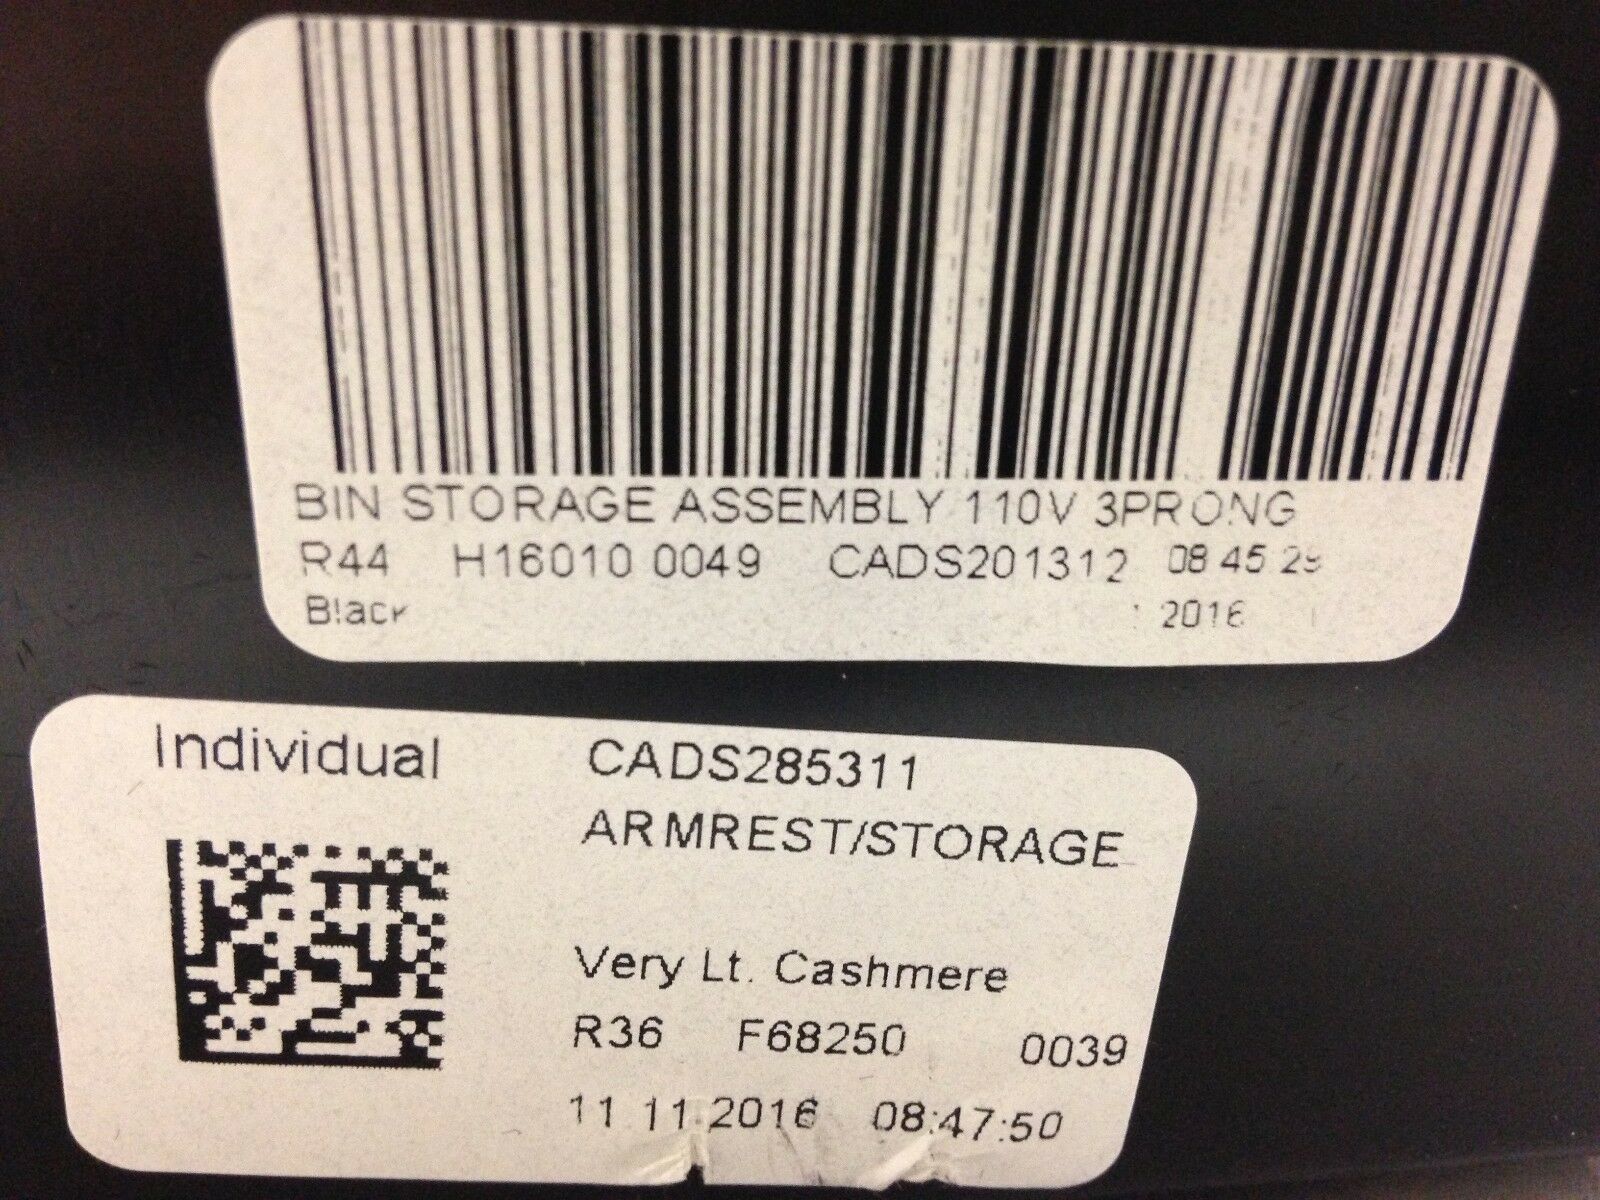
23206015,CADS285311,2015,2016,2017,assembly,luxury |
| UPC: |
Does not apply |
| Interchange Part Number: |
22980389 |
| Material: |
Leather |
| Color: |
Very Light Cashmere |
| Other Part Number: |
lux1 |
| Manufacturer Part Number: |
23206015,CADS285311,2015,2016,2017,assembly,luxury |
| Brand: |
Cadillac |
| Seller Notes: |
Listing details
| Seller policies: | |
|---|---|
| Shipping discount: |
Shipping weights of all items added together for savings. |
| Posted for sale: |
More than a week ago |
| Item number: |
1313714415 |
Item description
ReplacementCorp, one of the largest factory electronics websites, has branched out!! If you?ve been to our site, you know we have a HUGE selection of OEM parts and compatible accessories. Now we?re offering a few select products here too. Same great ReplacementCorp quality.....in a new location.
SUMMARY
Has never been installed in a car
From an assembly line left-over console
Very good condition
Minor marks or soil from bulk storage, if any
OEM factory original
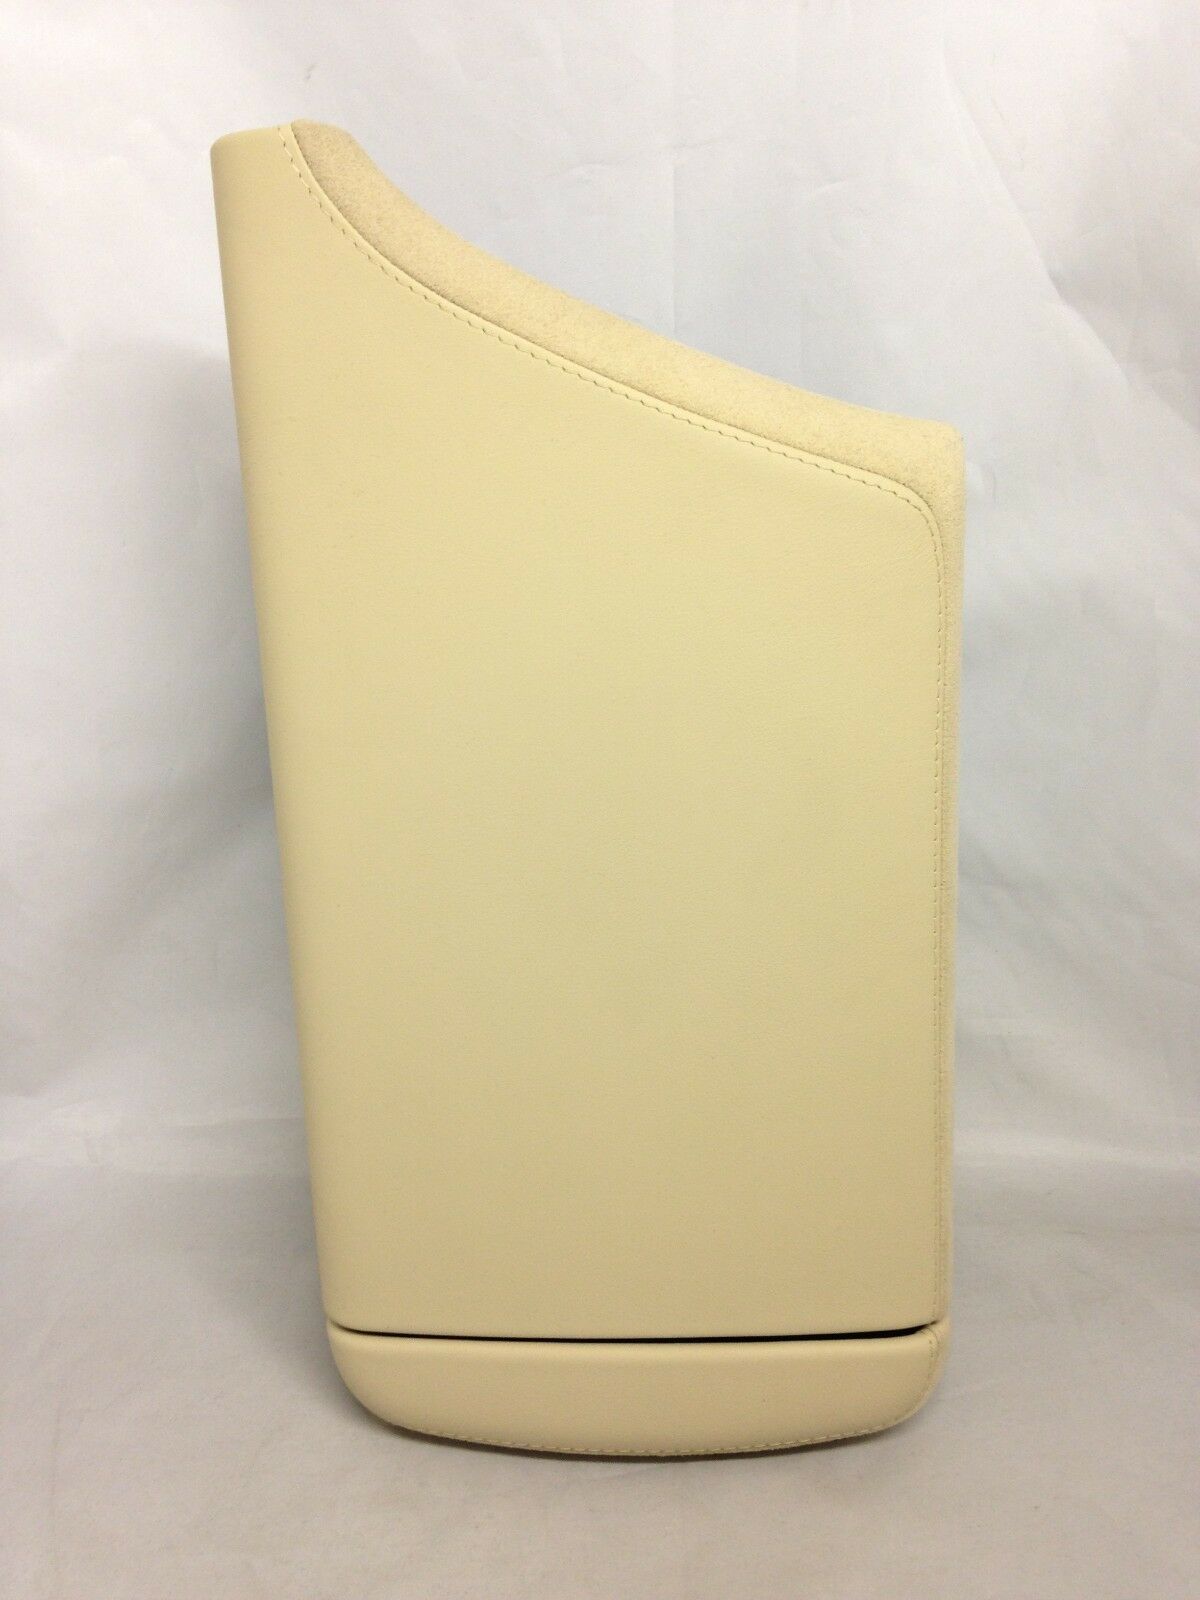
'Very Light Cashmere' appears to be the color
Leather top with suede accents
Comes exactly as seen in the photos
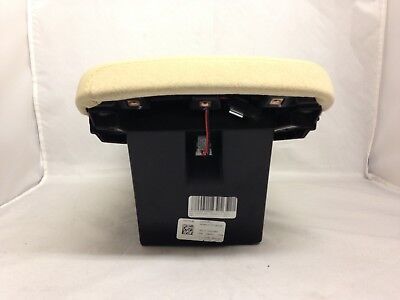
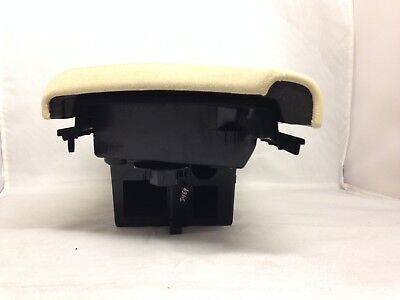
Includes the lid
GM part number believed to be 23206015
Includes the hinge cover
GM part number believed to be 22980389
Storage bin is included
Lid latch is NOT included
USB/Aux module is not included
You will re-use yours
Or we have one in a separate listing
Power accessory outlet (cig lighter) not included
You will re-use yours
Or we have one in a separate listing
Household power (120v) outlet not included
You will re-use yours
Or we have one in a separate listing
Key sensor module not included
You will re-use yours
Or we have one in a separate listing
Rubber inserts for bottom of bin are included
You will re-use yours
Or we have them in a separate listing
Will require partial dis-assembly of console
Basic installation instructions appear below
They are included as a courtesy only
Make sure someone qualified installs this
DETAILS
This appears to be called the Armrest/Storage Assembly. You would use this if yours is damaged. (By your kids maybe...) We believe it is the Luxury version, based on stickers adhered to the console. It is "Very Light Cashmere" leather, with suede accents. It came from an assembly line left-over console that was never installed in a car, so it is in very good condition. Minor blemishes or soil from bulk storage, if anything. (The consoles these come from are very cumbersome to store and move around.) Pictures are of one of the actual pieces in our possession. (Yes, we have more than one.)
Yours has several parts attached that will need transferred to this one. This may include the lid latch, power accessory outlet, USB/Aux module, 120v household outlet module, remote sensor and rubber storage bin inserts. All are relatively easy to remove and transfer. If you have someone qualified installing this for you, it should be relatively easy. We take no liability if you try to do it yourself and/or someone who turns out not to be qualified tried to do it for you and messes something up. We know it's not terribly difficult though. After-all, we had to dis-assemble the consoles to sell these parts and no one here had CTS console experience before we acquired these...
We have other parts for this console available too. Just drop us a message. If we have what you need, we'll set up a special listing for you.
Installation is not really hard. It is just a little time-consuming. (It takes us about 20 minutes, but we have done several of them.) Don't let these instructions scare you away. Good, detailed instructions will always be a little lengthy... The console does not need to come out of the vehicle. You will just have to disassemble part of it. Basically, you're removing the tail section and the storage bin, with the lid attached to it. Here goes...
You will need to pull the lower plastic tail section from your console first. It is held on with six pressure connectors. (See our ads for the CTS rear assembly if you what to be sure of the locations.) If you cannot get your hand under the bottom edge of the lower tail, you will need to use a plastic pry tool to get in from each side and pry the very bottom out. Then you should be able to use your hands to pull the tail away, which will pop the remaining clips loose. Once you remove it, you will find one or two wiring connectors holding it on. It's best to push the pressure tabs on those and remove them from the plugs so you can get the lower tail out of the way. Then you can use a philips bit to remove the three screws centered under the console lid tail piece. (So you might have to get your head down by the floor to look up and see them.) There are three more screws inside the storage compartment, under the removable rubber inserts, and another screw under the small felt lined bin, located under the hinged door just in front of the console lid. (Next to another power accessory outlet.) To get that bin out, just apply pressure on it from two different sides and pull up towards you. (It's just held in with a couple small plastic 'nubs'.) If it won't come out, move your fingers to different positions and keep trying. Once you have all the screws out, the lid and storage assembly can be lifted straight up. There is one wiring plug towards the back which must be disconnected before you can raise it very far. (It just has a pressure tab you squeeze in while you pull the two plugs apart.) Then you can lift the rear of the assembly up and spin it back and forth to get at the various plugs for the USB/Aux, power accessory, remote sensor, and household power outlet (if applicable). The USB/Aux module and power accessory outlet just have pressure tabs you squeeze while you pull the plug out. Easy peasy. The remote sensor requires you to slide a very small screwdriver under the lip closest to the little square opening that you can see purple through. Just give it a little twist while pulling on the plug and it pops out. The household power outlet has two plugs on it that can be a pain. You will have to use your really small screw driver again and force it down next to the skinny side of the plug. It needs to go on the outside of the pressure tab that you can barely see, poking up out of the plug receptacle. Once all those things are removed you can remove those various modules/outlets. You can see there are just two pressure tabs holding the USB/Aux module in. Push the module towards the inside of the storage bin as you press on the tabs with a screwdriver. For the household power module (if applicable), there are four such tabs. Two and two, on opposing sides. Again, push the module towards the inside of the storage bin while pressing the tabs one at a time. The power accessory outlet can be a bit of a challenge. There is a plastic sleeve at the very top of it, inserted into the storage tray. There are two tabs on that sleeve which drop into slots on the metal shaft. You have to pry those plastic tabs away from the metal shaft, while pushing on the end of the assembly (where the plug was removed). If you do it right, the metal shaft starts sliding into the storage bin. (Note: it can take quite a bit of pressure to make it do so. As long as you have the plastic tabs bent out of the metal shaft a bit, you can't do it any harm by pushing on it fairly hard.) Once the metal shaft pops out into the storage bin, you should be able to just push on the plastic sleeve to make it pop out into the storage bin as well. With all those modules out of the way, you can remove the two screws holding the remote sensor brain in place. Then remove the ring for the sensor. There are two plastic tabs holding it in place. You can usually push one of them in while pulling the ring up and it will pop loose. Then you can retrieve your parts from inside the storage bin and repeat the process in reverse to install the replacement assembly. Your lid latch is accessed by popping the plastic cover off the bottom side of the lid. You will then see three screws you need to remove... Phew, that was a lot of typing...
APPLICATIONS
It is a possible option for some of the following vehicles. That does not mean it's the one you need just because your vehicle is on the list. Match your part number! Seriously!! We're the parts guys. We wouldn't say it if it wasn't important. There's more to a part working for you than having your vehicle on a basic year, make, model list. EVERY part offered on a given model is on a list like that. Not just the parts on your vehicle, as equipped. Trim lines and options affect which part your vehicle needs.
Cadillac CTS: 2014-2018
SHIPPING, HANDLING RETURNS
Shipping cost is based on weight and zip code. This site does the figuring, not us. If you feel their calculation is high, you might be underestimating the package weight and/or current shipping costs from our zip code (62401) to yours. Please don't ding us for shipping in the ratings, as we have no control over ever-increasing carrier rates.
We will enter a tracking number into your order details here on the site. They will email it to you if your notification preferences are set correctly.
A signature is not typically required. If you are not home to receive the package, it will most likely be left at your door. Please monitor it's progress and arrange to collect it when it arrives.
This site provides a section/tab in each ad for Shipping information. We encourage you to check that section for prices, methods, time-frames, etc.
|
Why are we showing these items?
Booth
ReplacementRadios |
|


-
Refine your browsing experience
We can show you more items that are exactly like the original item, or we can show you items that are similar in spirit. By default we show you a mix.


 center console armrest lid. O... - $45.50")


This item has been added to your cart
 CTS 2014-2018 very light cashmere leather armrest console lid & storage bin. OEM added to cart.
Only one available in stock
CTS 2014-2018 very light cashmere leather armrest console lid & storage bin. OEM added to cart.
Only one available in stock
View Cart or continue shopping.
 Please wait while we finish adding this item to your cart.
Get an item reminder
We'll email you a link to your item now and follow up with a single reminder (if you'd like one). That's it! No spam, no hassle.
Already have an account?
Log in and add this item to your wish list.